Every Maine Coon owner will encounter mats at some point. That glorious semi-long coat — especially the belly ruff, behind the ears, and the "pantaloons" on the hind legs — is prone to tangling. Mats aren't just cosmetic problems. They pull on the skin, trap moisture, create hotspots for bacteria, and cause genuine discomfort. Prevention is the goal, but knowing how to safely remove mats is an essential skill.
Why Maine Coons Mat
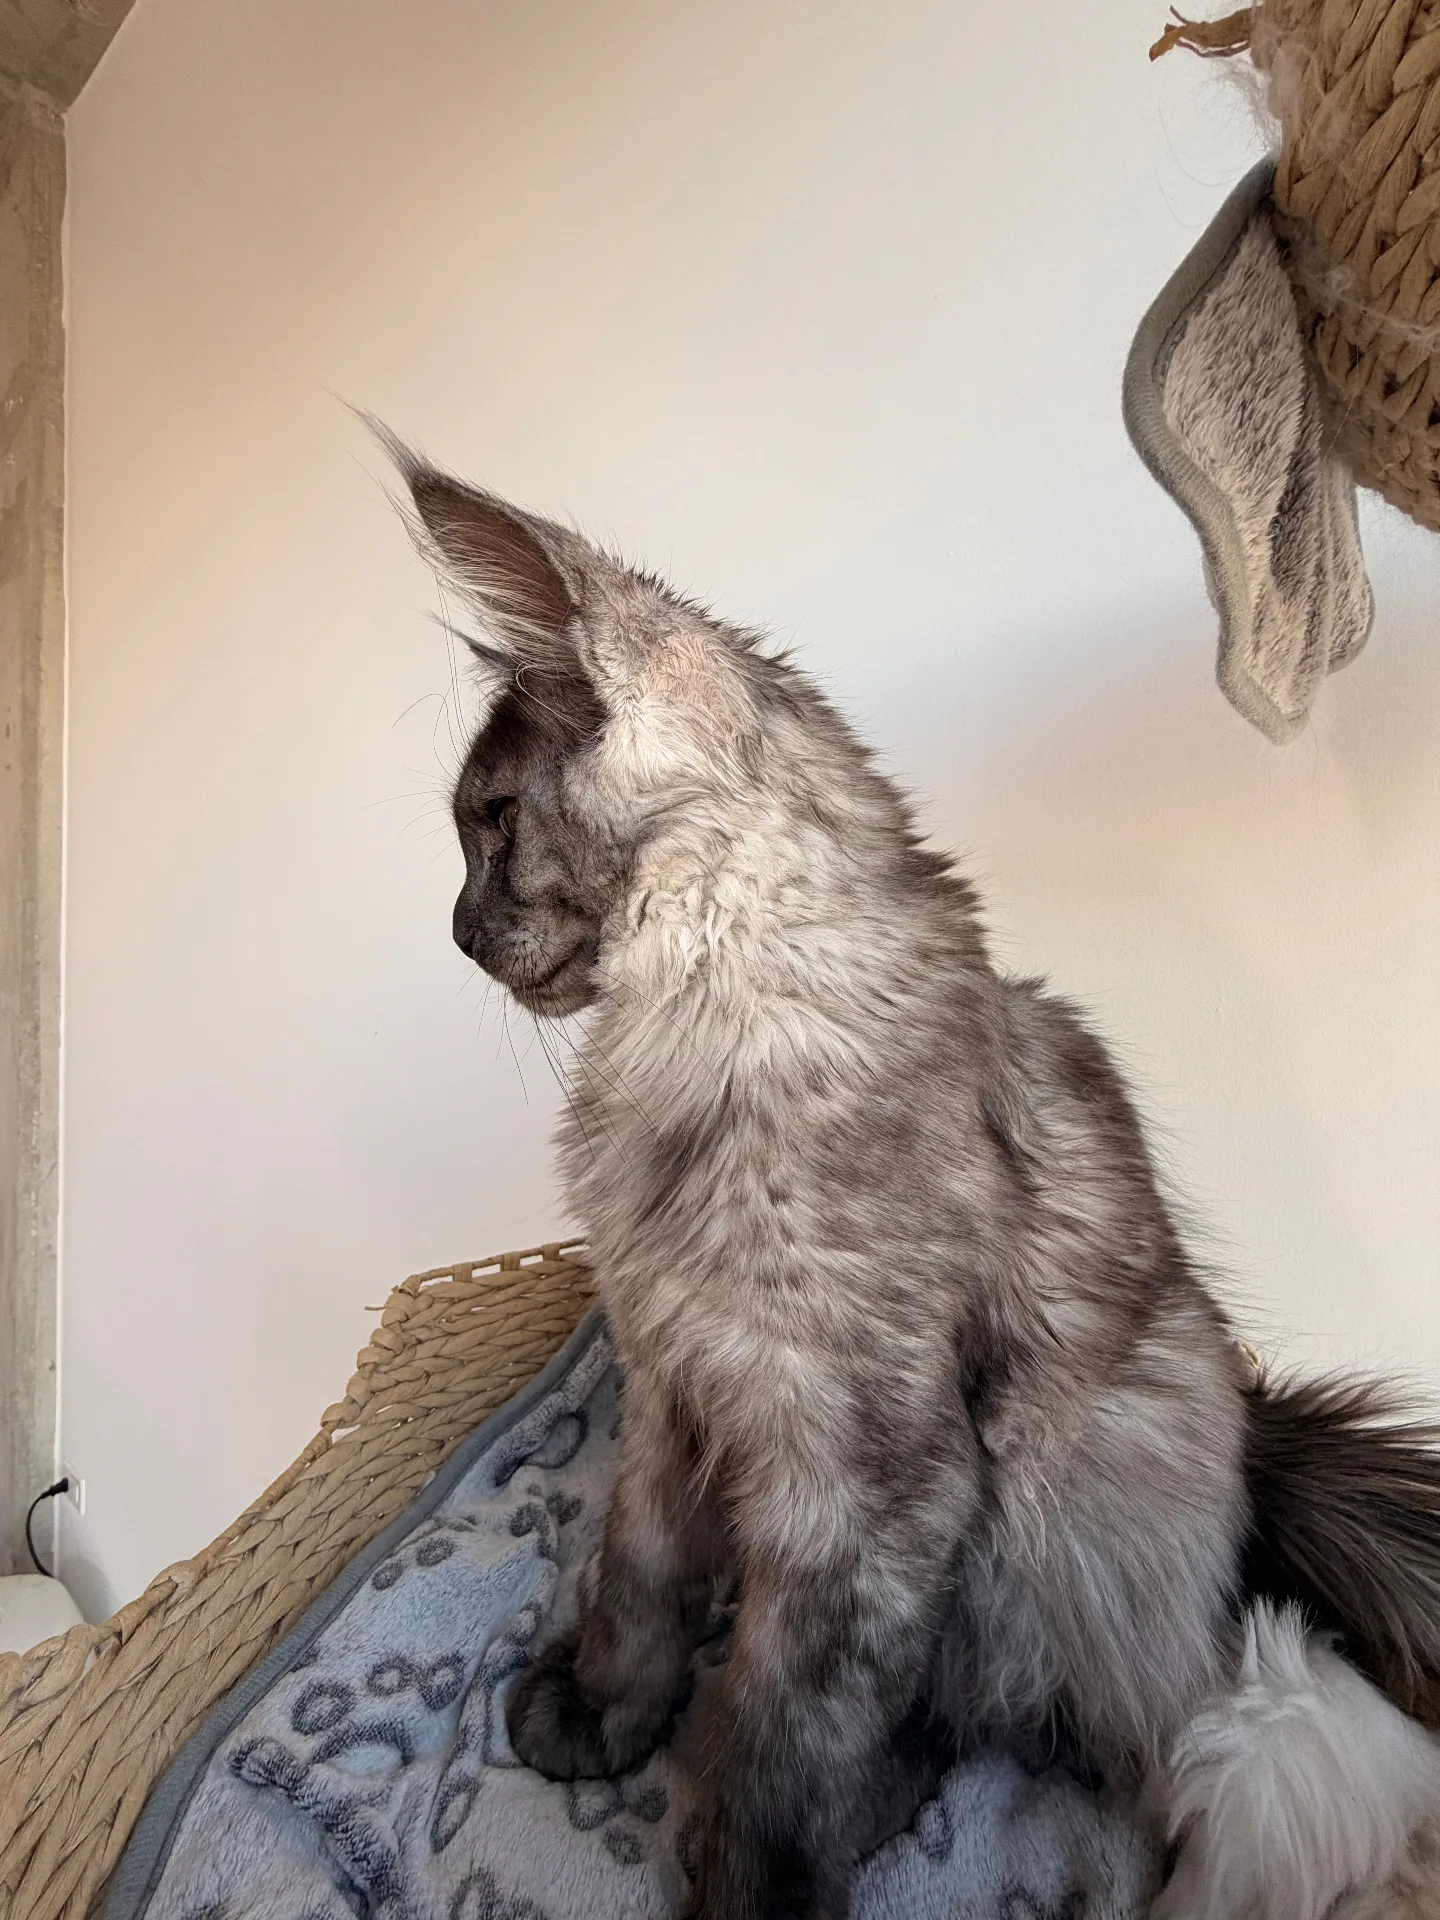
Maine Coon fur has a unique texture: a longer outer coat over a denser undercoat. When the undercoat sheds (primarily in spring and fall), loose fur can tangle with the outer coat and compact into mats. High-friction areas — armpits, behind ears, belly, between hind legs — are the most vulnerable.
Even with regular grooming, seasonal coat changes can produce surprise mats. Libra's armpits are her weak spot. I can brush her three times a week and still find a marble-sized tangle under her right armpit after a heavy shedding week.
Essential Tools
Your Mat-Removal Kit
- Mat splitter — blade tool that cuts through mats without scissors risk
- Dematting comb — wide-spaced teeth with rounded ends
- Cornstarch or detangling spray — loosens fibers before working
- Fine-tooth comb — for final smoothing after removal
- Treats — essential for cooperation
Safe Removal Technique
Step 1: Sprinkle cornstarch on the mat and work it in with your fingers. This reduces friction and loosens the fibers.
Step 2: Hold the base of the mat close to the skin with your fingers — this prevents pulling on the skin while you work.
Step 3: Using the mat splitter, cut INTO the mat (away from the skin, toward the tips) to split it into smaller sections.
Step 4: Work each smaller section with the dematting comb, starting at the tips and gradually working toward the skin.
Step 5: Once the mat is gone, finish with a regular comb to ensure no tangles remain.
Critical Safety Rules
- Never use regular scissors near a mat. Cat skin is paper-thin and tents up into mats. Scissors lacerations are one of the most common home grooming injuries.
- Never pull or yank. This causes pain and will make your cat fear grooming permanently.
- Stop if your cat is distressed. Work on one mat per session if needed. There's no prize for doing it all at once.
- If the mat is tight to the skin, see a professional groomer. Some mats require electric clippers with a guard — attempting these at home risks cutting the skin.
Prevention: The Real Solution
Removing mats is fixing a problem that shouldn't have happened. Here's the prevention protocol:
Brush 2–3 times per week with a wide-tooth metal comb followed by a slicker brush. During shedding season (spring/fall), increase to daily.
Pay attention to hot spots: Behind ears, armpits, belly, inner thighs, and the base of the tail. These areas need targeted attention every session.
Consider a sanitary trim: Keeping the fur shorter around the hind end prevents fecal mats and reduces litter box-related tangles.
I'd rather spend 10 minutes brushing three times a week than 30 minutes fighting a mat once a month. Your cat feels the same way — trust me.
When to See a Professional Groomer
If mats cover a large area, if they're tight against the skin, or if your cat becomes aggressive during removal attempts — call a professional. Look for a groomer experienced with long-haired breeds. A professional lion cut (shaving the body while leaving the mane, paws, and tail tip) is sometimes the kindest solution for severely matted cats.