I take hundreds of photos of my cats every week. Most of them are terrible. Euro mid-blink. Coco's ear cropped off. Libra with unflattering chin angles. The ones that make it to Instagram are the 5% where lighting, angle, and the cat's mood all aligned for three seconds. Here's what I've learned about getting those shots consistently — no professional equipment required.
Lighting Is Everything
The single biggest factor in photo quality isn't your camera — it's light. Professional cat photographers use elaborate studio setups, but you can get stunning results with what you already have.
Natural Window Light
Natural window light is your best friend. Position your cat near a large window and you'll get professional-quality light for free. The best times:
- Golden hour (early morning or late afternoon): Warm, soft, flattering light that makes fur glow
- Overcast days: Diffused light, no harsh shadows — secretly the best "studio" lighting
- Near windows but not in direct sun: Direct sun creates harsh shadows and squinting
Set up their favorite bed or a cat tree near a north-facing window (consistent light) or east/west-facing window (golden hour magic). Then wait. They'll eventually settle there, and you'll have beautiful lighting ready.
Avoid These Lighting Mistakes
Lighting Don'ts
- Direct flash: Creates harsh shadows, red-eye, flat-looking coat
- Overhead indoor lighting: Creates under-eye shadows and dull appearance
- Backlit without compensation: Cat becomes a silhouette
- Mixed lighting: Different color temperatures create weird tints
If you must shoot at night, bounce a lamp off a white wall or ceiling for softer, indirect light. It's not as good as natural light, but dramatically better than direct overhead lighting.
Color-Specific Considerations
Different coat colors photograph differently:
| Coat Color | Challenge | Solution |
|---|---|---|
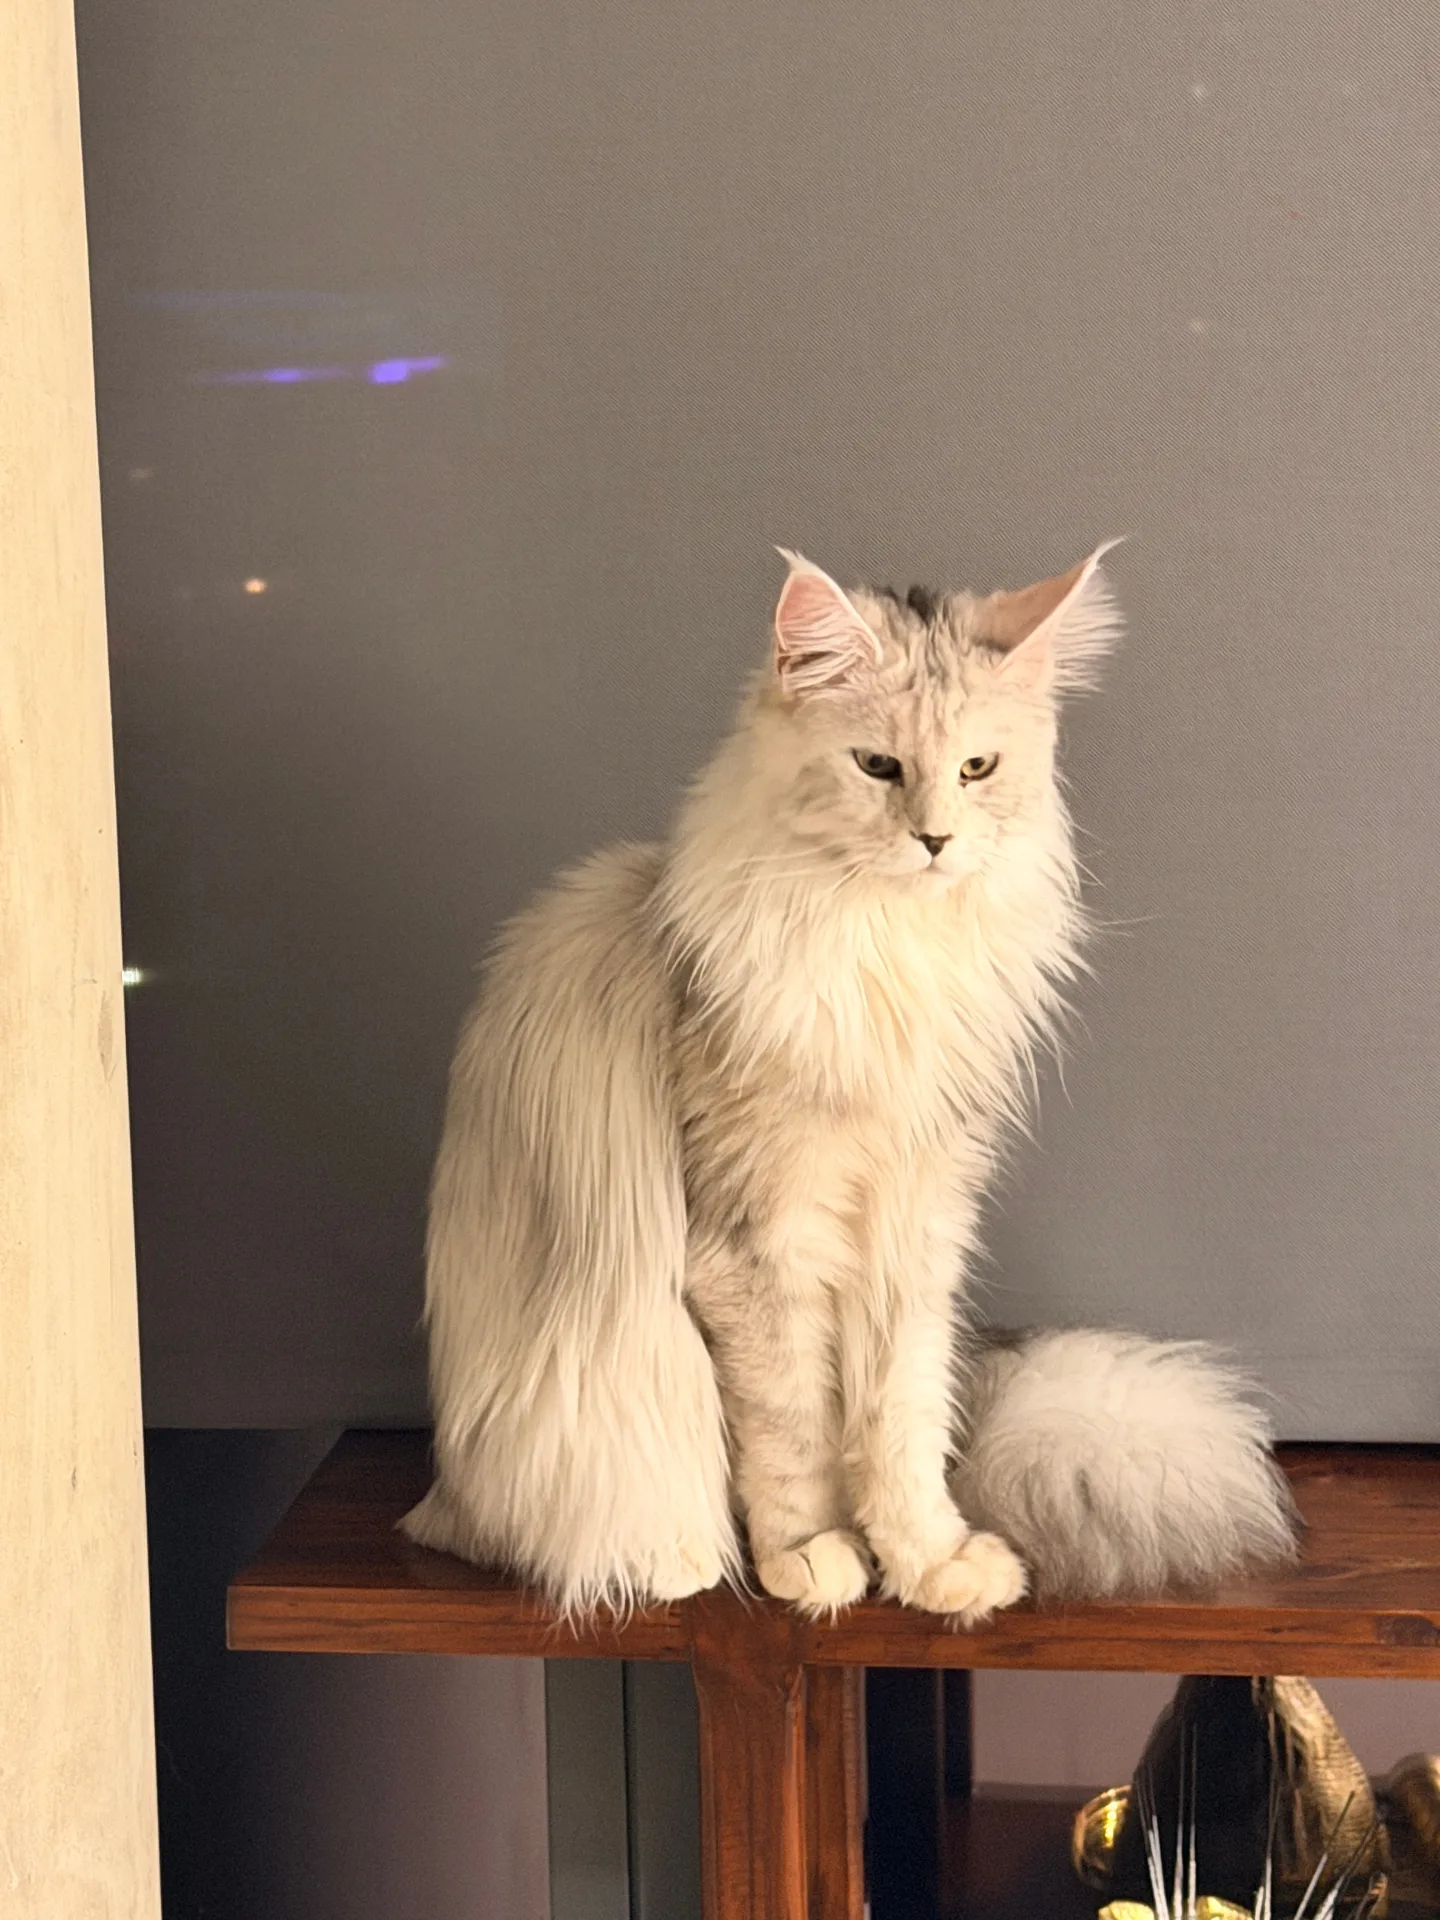
| Silver/White | Blows out (overexposed) in bright light | Slightly underexpose, shoot in softer light |
| Black/Smoke | Loses detail, becomes blob | More light, expose for highlights, post-edit shadows |
| Brown/Tabby | Most forgiving | Standard exposure works well |
| Red/Orange | Can look oversaturated | Watch for harsh direct light |
My silver cats (Euro, Coco) need careful exposure — too bright and they're blown out; too dark and they look dingy. I often slightly underexpose silver cats and bring up shadows in editing.
Get on Their Level
The number one mistake is shooting from above — looking down at your cat from human standing height. This creates:
- Foreshortened appearance (makes them look smaller)
- Distorted features
- Submissive, less impressive poses
Eye-Level Magic
Get on the floor. Lie down if needed. Shoot at your cat's eye level. This creates:
- More intimate, engaging portraits
- Dignified appearance that shows their personality
- Proper facial proportions
- Showcase of their profile and structure
Maine Coons have incredible facial features — prominent muzzle, high cheekbones, lynx-tip ears — and you want the camera angle to showcase them. Eye-level and slightly below highlights these features best.
Angle Variations
- Eye-level straight on: Classic portrait, shows face structure
- Slightly below: Makes cat look regal and imposing (great for showing size)
- 45-degree profile: Shows muzzle shape and ear tufts
- True profile: Dramatic silhouette, especially backlit
Patience & Bribery
Cats don't pose on command. You set up the shot and wait. Or you employ strategic bribery.
Getting Attention
- Treats held above lens: Cat looks directly at camera while focused on food
- Toy held near lens: Alert, engaged expression with ears forward
- Clicking or kissing sounds: Ears perk up, curious expression
- Crinkle a treat bag: Instant attention from any direction
Euro is my easiest subject because food exists. Hold a treat near the lens and he'll stare at the camera like it's the love of his life. Coco is the hardest — she's always in motion, already onto the next thing.
Burst Mode Is Your Friend
Take LOTS of photos. Use burst mode during:
- Play sessions (action shots)
- Yawning (dramatic but hard to time)
- Attention-getting moments (ears moving, expressions changing)
Out of every hundred burst mode shots, maybe one will be perfect. That's normal. Storage is cheap; delete liberally.
Composition Tips
Rule of Thirds
Imagine your frame divided into a 3x3 grid. Place your cat's eyes at one of the intersection points rather than dead center. This creates more dynamic, professional-looking images.
Negative Space
Don't fill the entire frame with cat. Leave breathing room — especially in the direction they're looking. A cat looking right should have space on the right side of the frame.
Background Matters
A cluttered background distracts from your stunning cat. Look for:
- Simple, solid-colored backgrounds
- Pleasing blur (achieved through distance or camera settings)
- Complementary colors (silver cats pop against blue or teal backgrounds)
I keep a few solid-colored blankets specifically for photography backgrounds. A $20 fleece blanket can transform a random spot into a "studio."
Show Their Size
Maine Coons are impressive — show it! Include reference objects:
- Human hands or arms for scale
- Standard objects (water bottles, books)
- Other cats (if you have them)
- Doorways, furniture
Phone vs Camera
Modern phones take excellent cat photos. For 90% of situations, your phone is fine.
Phone Photography Tips
- Portrait mode: Creates beautiful background blur
- Tap to focus: Always focus on the eyes
- Lock exposure: Tap and hold to lock focus and exposure
- Burst mode: Hold the shutter for continuous shots
- Clean the lens: Sounds obvious, but pocket lint causes haze
When a Camera Helps
Dedicated cameras excel at:
- Action shots: Fast shutter speeds freeze movement
- Low light: Larger sensors perform better without flash
- Background blur: More control over depth of field
- Print-quality images: Higher resolution for large prints
If you want to invest, a basic mirrorless camera with a 50mm lens is the best cat photography setup for the price. The 50mm focal length is flattering for portraits and creates lovely background blur.
Post-Processing
Even professional photographers edit their images. Basic edits that make a difference:
Simple Edits That Help
- Crop for better composition
- Brighten if underexposed
- Increase contrast slightly
- Sharpen (especially eyes)
- Adjust white balance if colors look off
- Remove distracting background elements
Apps like Snapseed (free) or Lightroom Mobile (free basic version) are excellent for phone photos. Don't over-edit — the goal is to enhance, not create an obviously filtered look.
Special Shots
The Yawn
Dramatic, meme-worthy, hard to capture. Watch for pre-yawn signs (stretching, settling) and be ready with burst mode. You'll miss most of them, but when you get one, it's worth it.
The Action Shot
Use good lighting (you need fast shutter speeds), burst mode, and continuous autofocus if your camera has it. Pre-focus on where the action will happen, then wait.
The Sleeping Shot
Easiest to compose since they're not moving. Focus on the face, get close, and capture those peaceful expressions. Watch for weird positions that look cute in person but photograph awkwardly.
The Window Shot
Cat silhouettes in windows make beautiful, artistic images. Expose for the bright window (making the cat dark) for dramatic silhouettes with glowing ear tufts.
The best camera for cat photography is the one you have on you when the cat does something adorable. Don't wait for the "perfect setup" — capture the moment.
Key Takeaways
- Natural window light trumps any camera upgrade
- Get on your cat's level — no shooting from above
- Patience and treats are your best tools
- Use burst mode liberally and delete ruthlessly
- Phone cameras are excellent for 90% of cat photography
- Simple editing makes good photos great